Gmail is without a doubt the most powerful tool in email today. Everyone knows it offers a fantastic interface and insane reliability; however, the service also has boat loads of features embedded that Google never really talks about and only the few who’ve really taken the time to explore the service know exist. One of those services is called “Send Mail As”. It’s essentially a service that allows you to send email from your gmail, but as another email address. If you combine the power of this feature with email forwarders, you can eliminate the need to manage multiple email addresses and house them all within your one Google account. I’ll show you how to get started with that using cPanel forwarders–the most common interface that hosting companies provide.
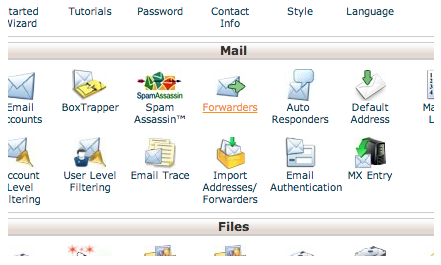
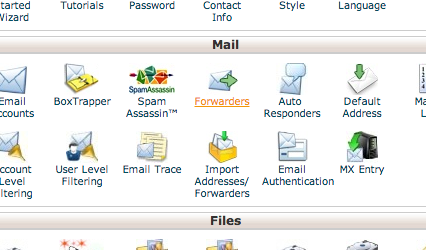
First, you’ll want to login to your cPanel account and locate Forwarders under Email:
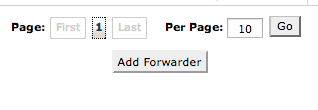
Once inside of the forwarder area, locate the button that reads Add Forwarder and select it.
On the next screen, you can quickly configure a forwarding email address based on your domain, and then point it to the gmail account that you will be using. You can use the following image as a guide for what you should be inputting.
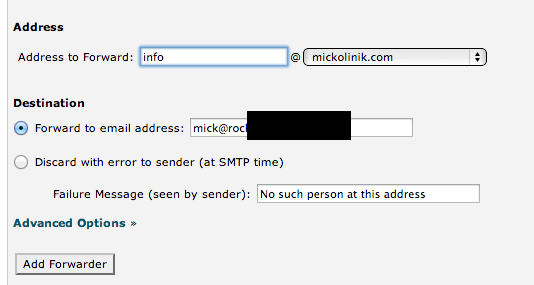
In this example, I am setting up info@mickolinik.com to forward to my main business email, which is hosted with Google Apps and uses the Gmail interface – but you can literally use any @gmail.com email address to forward to and it will work the exact same way. Once you’ve got everything all set up correctly, hit Add Forwarder again and wait for the confirmation screen. At this point we are all done with cPanel… feel free to close it and open up Gmail.
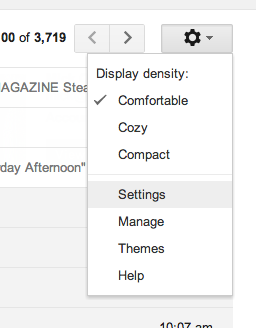
Once in Gmail, look to the far right and locate the Settings Gear and then select Settings.
Now, for the next step of the process you’ll want to select the Accounts and Import. Towards the top of this screen, you’ll locate another option that reads add another email account you own as shown below – select that.

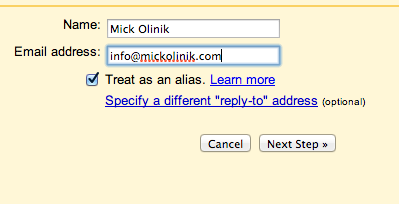
Upon selecting this option, you’ll be greeted with a new yellow popup window that asks you to enter in the email you plan on using with Gmail. Enter in the email that we created with cPanel earlier and select next.
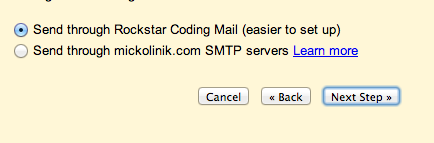
The next step will ask you to select how you want to route the emails. Use whatever Gmail suggests are the best way by default, and then select next.
Once you hit Next, you’ll be taken to a screen that’s asking you to enter a confirmation number. Since this is a forwarding email, you can just close that window and refresh your email inbox. You’ll soon be greeted by an email that says “A Gmail User is asking permission to send from your email address”. Select this email, and inside of it you’ll find a link to confirm – select this link. Once you select it you’ll find yourself at a screen that reads The Gmail User can now send email as xxxx@xxxxxxxxxx.xxx. If this is the message you receive–congrats! You’ve done this correctly.
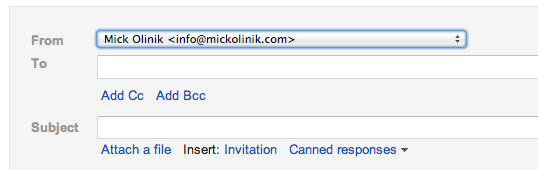
You can confirm this by going to Gmail and hitting the compose button. In the compose window, you’ll see a drop down where the From field is located. You’ll be able to select this to switch between your default email address and the new cPanel address we setup earlier. As you can see in the screenshot below, we can now send email from my business email via info@mickolinik.com.
Using this powerful tool, you can not only consolidate your logins, but use custom/more professional emails from within your main Google login. Since Google recently made Google Apps a paid-only service, this is a marvelous work around for anyone hoping to get that Google Apps email experience without paying the yearly fee per email.
Happy Emailing!